9 Rules for Hatching Eggs
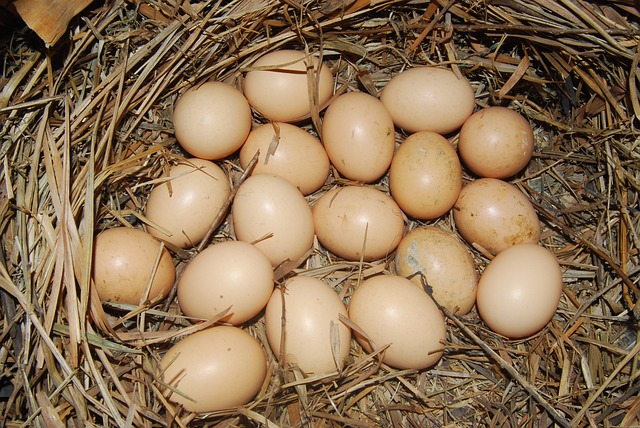
Hatching chicken eggs artificially using an incubator is a rewarding experience. If you have a rooster you can use fertilized eggs from your own flock, or you can find fertile chicken eggs for sale from a neighbor or hatchery.

Experience and Learn Egg hatching with the 12 Day Chicken Hatching Program
Recommended for Early Learning School centers, Aged Care, different companies and at homes for personal learning experience.
Providing Chicken Programs Since 2001 to Sydney, Central Coast, Canberra and the Illawarra.
BOOK Your Chicken Hatching Program here.
Hatching Eggs for Beginners
There are some general rules you should follow when hatching eggs to ensure success.
Incubating Eggs for Beginners:
1. Hatching Chicken Eggs Takes 21 Days
This is true if the eggs were fresh and remained at the proper temperature for hatching chicken eggs throughout the whole period. If Day 21 passes hold on to your eggs for a few more days just in case they hatch late.
2. Keep the Eggs Warm
Throughout the incubation period, the eggs should be kept at a still-air temperature of 101.5°F, measured at the top of the egg. If your egg incubator uses forced air to keep the temperature at 99.5°F.
3. Turn Eggs till Day 18, then Stop.
If you turn the eggs manually be sure to wash your hands before doing so. It is important to stop turning at day 18 so the chicks can position themselves for hatching.
4. Turn Eggs 3-5 Times a Day
Many incubators have turning trays, but most homemade incubators for hatching chicken eggs will require hand turning. You can draw an X on one side of each egg to help you keep track of which ones you’ve turned.
5. Place Eggs on the Turner Large End Up
If you have an automatic turner, don’t be surprised if you can’t see it moving. They go very slowly and you may think it is broken. Check back in a few hours and the change in position should be obvious.
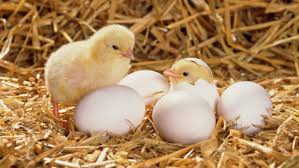
Image courtesy of eggtochicken.com
6. Use the Right Humidity for Hatching Eggs
Maintaining the proper humidity for hatching chicken eggs is critical. You should use a hygrometer to check it, as levels can vary widely based on the ambient humidity in your home. From day 1-18 keep humidity at 40-50%. At day 18 boost it to 70%.
7. Start with at Least Six Eggs
This is for your benefit and that of the chicks. Hatching chicken eggs requires a lot of work. If you set fewer eggs a bad hatch is possible and some of the chicks may not make it, or they may all be males. And remember, chickens are flock animals. A lone bird can actually die of loneliness.
8. Let the Chick Come Out of the Shell on Her Own
When you see a pip in the shell, be prepared to give the chick up to 24 hours to come out (5-7 hours is the average). If you try to “help” by pulling the shell off the chick is very likely to bleed to death. Be patient.
9. Keep the Incubator Closed
The key to hatching eggs successfully is to leave them alone as much as possible. This is especially true when the chicks are hatching. You lose humidity when you open the incubator, and this can make it difficult for the chicks to get fully out of the shell.
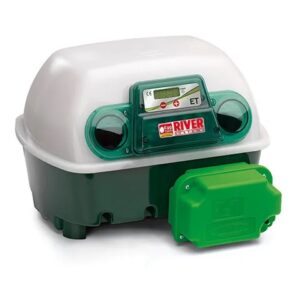
Checkout this line of Automatic Egg Incubators and Brooding Cages
Extended Reading
Baby Chicks: The Complete Guide
When it comes down to the moment of actually hatching eggs, the chicks do a beautiful job of it all by themselves.
Here’s a recommended Hatching Chicken Programs in Sydney, Central Coast, Canberra and the Illawarra in Australia :


